Application success is based on getting three variables correct– time, temperature and pressure. Every custom transfer you receive from Transfer Express comes with application directions letting you know how to apply a transfer. There are also application instructions on the website for each product.

Time
Every heat press has a time setting so this is the easiest variable. Simply set the time on your heat press to match the application instructions provided with your order. If there is a time range, I like to pick a number in the middle. Most transfers require a pre-press to remove moisture and wrinkles. This time needed for this pre-step falls outside the time needed for application.
Temperature
The accuracy of temperature has a broad result based on the heat press itself. Our Hotronix presses leave the factory calibrated for accuracy. This is not always the case with the imported heat press you buy on Amazon. If you have bought an import, we recommend checking to see how much the temperature is off before getting started. You can buy or borrow a heat gun, or we have inexpensive heat strips for testing. The heat coils in an import are typically a simple x or round shape heat coil, leaving some cold spots that you ill need to compensate for, Your Hotronix press has a heat coil that winds throughout the platen to prevent cold spots. Once you get the correct heat, be sure you are not blocking it using a cover sheet or upper platen cover. The heat needs to reach the application.
Pressure
Most heat presses have a knob to manually adjust pressure. There are a couple that have no pressure adjustment such as the Cricut Easy Press, Cricut Autopress, and the HTVRONT. With two of these presses, you will need to add silicone pads to the bottom to build up the pressure. The Easy Press relies completely on your strength to supply the pressure. Most of the Hotronix heat presses have a digital pressure read out so you know how much pressure you are giving the application. Always be sure to measure with the shirt on the press.
If your press does not have a heat press, a quick way to find medium pressure is by placing four single dollars on your shirt laying on the press with half of it extending beyond the edge. Close your press and try to pull on the dollar bills. If you have medium pressure, you should not be able to pull them out. If you can, adjust the pressure and try again.
Sometimes the shirt itself can cause uneven pressure due to obstacles such as pockets, buttons, seams or a hood. Hoodies are filled with pressure obstructions and to even those out, you will need to raise the print area only using a mouse pad, smaller platen or silicone pad.
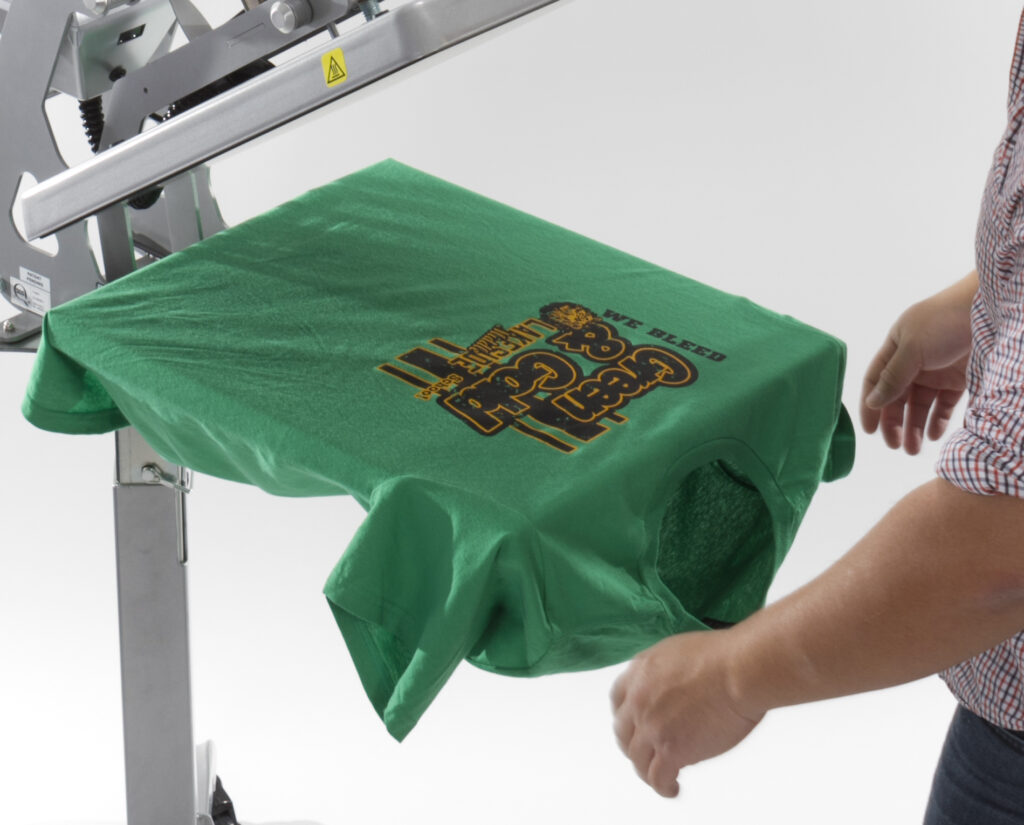
Let’s Apply A Transfer
With our screen-printed transfer there is an extra print for a practice run on a scrap. Use this to dial into your settings. With a basic t-shirt some like to thread or dress the press, to apply to just the one layer. But you can also simply lay the t-shirt on the press with the neck seam off the platen area. Position the screen-printed transfer ink side down and press using the peel on your application directions.

You Did It!
It is that easy! Now keep applying to finish your first order!