One of the most talked about conversations with our Dealer’s has to do with the “Show-Through” areas of designs created in Easy View™. If you’re not familiar with this term, it is a printing term that defines the areas in your design that has no ink, and when printed, will “show-through” to the fabric.
Show-thru Thickness
Show-thru areas are any area in your design that has no ink but is surrounded by ink. These areas need to be as thick and open as the following guidelines:
- Our recommended show-thru thickness for all screen printed ink formulas is .04″ thick for show-thru. All non-printing areas need to be open at least this wide

Guidelines are put in place for the Show-Through thickness to help your design look it’s best when it is heat printed. If your design doesn’t meet the Show-Through thickness requirements, your design may not look good when heat printed. When heat and pressure are applied to the design, the ink expands. If the show-through areas aren’t thick enough, the ink will expand and the show through areas will close-up.
If you need help determining if your design meets the Show-Through thickness guidelines, our Dealer Services team members can help. Or, there is an insider trick when you’re designing in Easy View® to determine if your design meets the guidelines.
Below is an example of how to check if your design meets show-through standards.

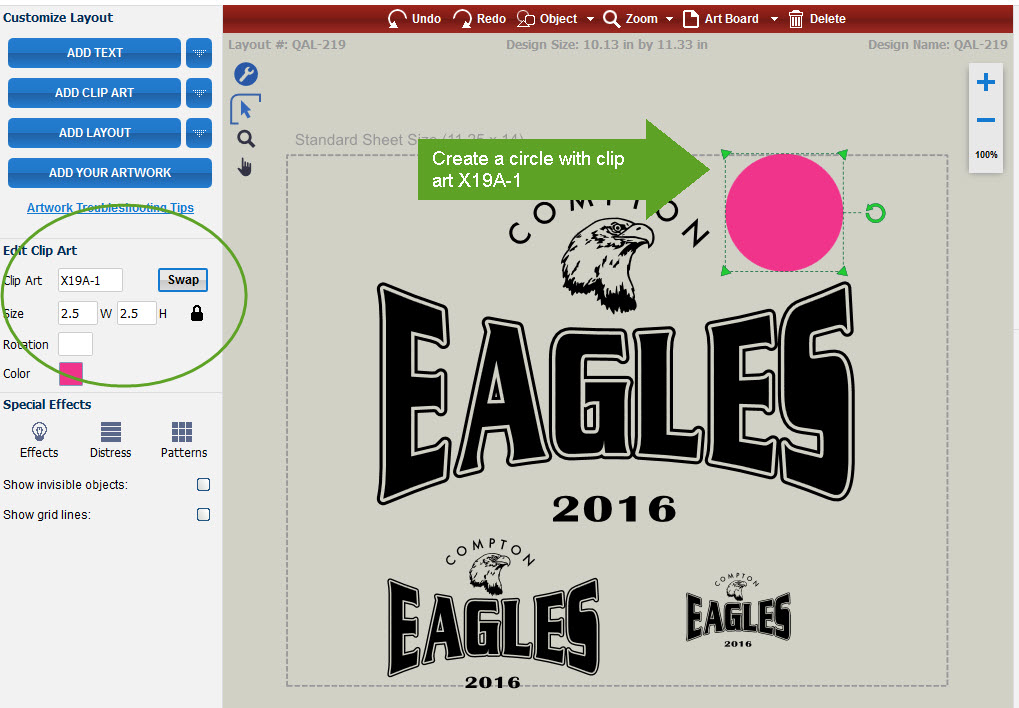
We started with this Easy Prints® layout QAL-219 at various sizes to show you how to test your show-through areas.
First, add a circle to the page by clicking on “ADD CLIP ART” and searching for clip art X19A-1. This is just a solid circle clip art.

We then changed the color of the circle to a color that is very visible against the ink color we chose, like bright pink.
Second, Edit the Circle clip art and change the size to .04″ (the minimum show-through thickness requirement). *Your circle will be very small. The bright color will help you locate it.

This will be your guide around your design to determine if any of the show-through areas (in this case the grey areas) have the possibility of closing-up when the finished transfer is heat applied to the fabric. You can move this dot around your design over any small, non-printed areas.
Now it’s time to check the separated outline on each of the designs at different sizes.

This design is the largest design on the sheet. We zoomed in so you can see the circle guide. Notice that there is adequate space between the Black ink for the circle to fit. This design has enough Show-Through area to meet the standard requirements.

We then tested the 4.5″ design on the transfer sheet. Without changing the size of the circle (remember it needs to be .04″) you will notice that the circle just barely fits between the black ink lines. This means that there is just enough space that the outline will still be visible when transferred to the shirt.

Now onto the smallest design on the sheet at 2.5″ wide. As you can see, the Circle clip art overlaps the black ink areas, showing that there is not enough space between the black ink lines to meet the show-through requirements and the design will most likely close-up.
If this is the case, we would recommend to remove the separated outline from the small design to help the design look it’s best when heat printed.
Following these guidelines will help you with the amount of detail you can have in your screen printed designs.
We hope this helps you create the best design you can create for your customers.